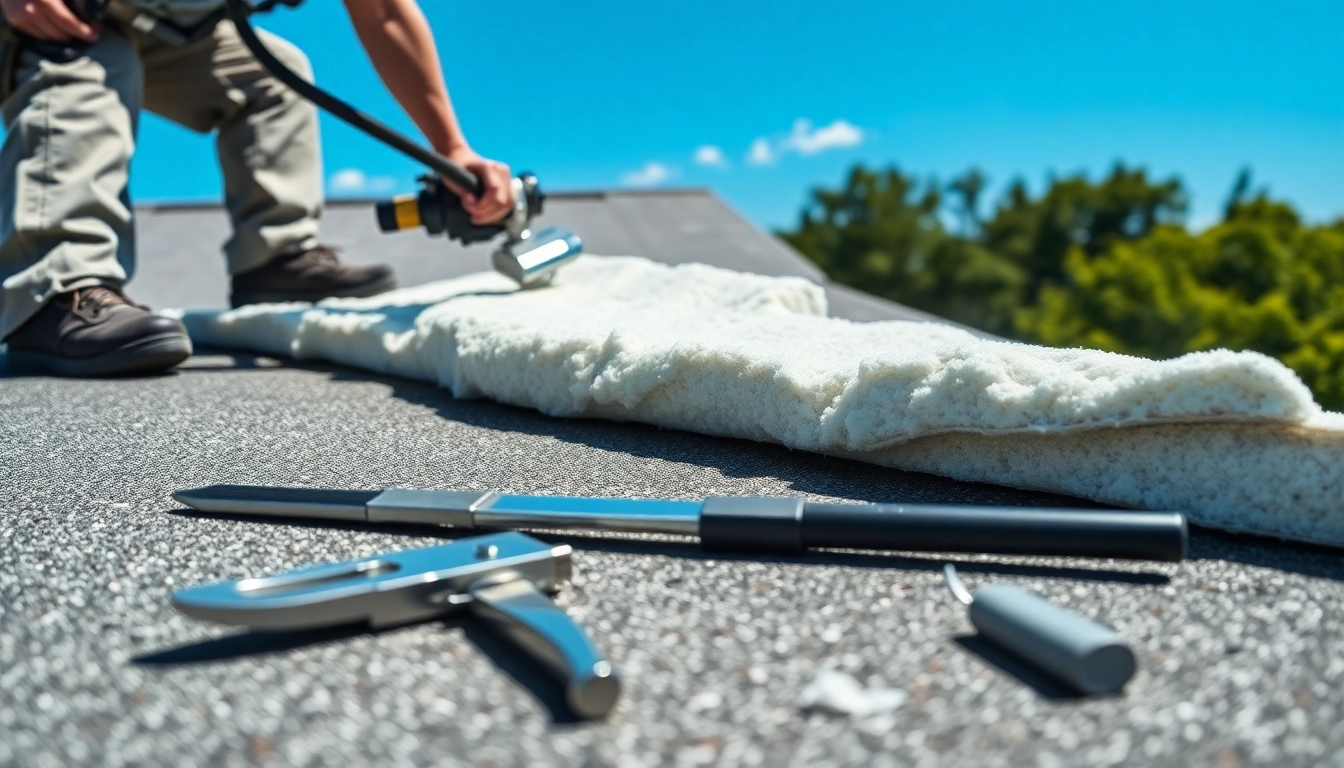
Understanding Spray Foam Roof Removal
What is Spray Foam Insulation?
Spray foam insulation is a type of insulation product commonly used in roofing applications. It consists of two main components—polyol resin and isocyanate—that, when mixed together, expand on application to form a solid layer. This layer serves as a protective barrier against moisture and can enhance a building's energy efficiency. The versatility of spray foam insulation allows it to fill irregular spaces, making it an effective solution for various roofing configurations.
Common Reasons for Removal
While spray foam is known for its advantageous properties, certain situations may necessitate its removal. Common reasons include:
- Deterioration: Over time, spray foam can break down under UV exposure or excessive moisture, leading to compromised insulation performance.
- Mold Growth: If moisture becomes trapped beneath the spray foam, it can lead to mold and mildew issues that necessitate removal.
- Renovation Needs: Changes in roofing designs or renovations may require the removal of existing spray foam to adapt or integrate new materials.
- Improper Installation: If the insulation was applied incorrectly, it might not perform adequately and warrant removal.
Benefits and Challenges of Removal
The decision to engage in spray foam roof removal can bring both benefits and challenges.
- Benefits: Successful removal can lead to improved roof integrity, prevention of mold issues, and improved insulation performance if replaced with new materials.
- Challenges: The process can be labor-intensive and may require specialized equipment. Additionally, there may be safety concerns associated with handling existing foam.
Preparing for the Removal Process
Tools and Equipment Needed
Preparation is essential for a safe and effective removal. The following tools and equipment are typically needed:
- Protective Gear: Safety goggles, gloves, and masks are crucial to protect against dust and chemical exposure.
- Removal Tools: A utility knife or foam scraper for cutting the foam away, along with a pry bar or similar tool for lifting.
- Power Equipment: Depending on the thickness of the spray foam, you may need an electric saw or similar device to aid in cutting.
- Disposal Containers: Secure bins to dispose of the removed foam in compliance with local waste disposal regulations.
Safety Precautions to Follow
Safety should always be a priority during the spray foam roof removal process. Here are essential precautions to consider:
- Ventilation: Ensure adequate ventilation in the workspace to avoid inhaling fumes.
- Working at Heights: If you are removing foam from a roof, use proper ladders and safety harnesses to prevent falls.
- Fire Safety: Isocyanates can be flammable; thus, keeping flammable materials away during the process is critical.
Assessing the Roof Condition
Before proceeding, assess the overall condition of the roof. Look for signs of structural damage, leaks, or advanced deterioration. Take detailed notes and photographs of any compromised areas, as this will help to inform your remediation strategy after removal.
Step-by-Step Guide to Removal
Identifying the Appropriate Techniques
The removal of spray foam insulation can be performed using different techniques tailored to the specific conditions of the roof:
- Manual Method: For smaller applications, manual tools may be sufficient. Carefully cut the foam with a utility knife and peel it away in sections.
- Mechanical Method: For larger areas or thicker layers of foam, mechanical tools like saws might be more effective for efficient removal.
Executing Removal Safely and Effectively
Once you have selected the removal method:
- Begin from one edge of the roof and work your way systematically across to ensure complete coverage.
- Use continuous, fluid motions to minimize potential damage to the underlying roofing materials.
- Regularly clean up debris to maintain a safe working environment.
Managing Waste and Cleanup
After removal, properly manage and dispose of the waste according to local regulations. This not only ensures environmental safety but also prevents future structural problems. If you are working with large quantities, consider reaching out to waste management services familiar with special foam disposal.
Post-Removal Considerations
Inspecting the Roof After Removal
Once the spray foam is removed, inspect the roofing material for signs of damage or deterioration. Look for water stains, structural integrity issues, and any areas that might require immediate attention.
Repairing and Prepping for New Insulation
If you plan to install new insulation, now is the time to make necessary repairs. Seal any gaps, replace damaged sections, and thoroughly clean the surface to ensure proper adhesion of new insulation materials.
Knowing When to Call a Professional
In some cases, it may be wise to consult with a professional contractor, especially if you encounter significant damage or complications during the removal process. Professionals can offer expertise, specialized equipment, and safety measures that ensure the job is done correctly.
FAQs about Spray Foam Roof Removal
How long does the spray foam roof removal process take?
The time required varies based on the roof size and the removal method, typically ranging from a few hours to a full day.
Is spray foam roof removal safe for my roof?
When conducted properly, it can be safe, but handling techniques and safety measures are essential to avoid damage.
Can I remove spray foam insulation myself?
DIY removal is possible but requires proper knowledge and safety precautions; hiring professionals may be safer.
What are the costs associated with removal?
Removal costs vary based on location and roof size, generally ranging from a few hundred to several thousand dollars.
What happens if I don’t remove old foam?
Failure to remove deteriorating foam can cause insulation issues and potential roof damage, leading to higher repair costs.